
Why EV Charger Home Installations Are Worth Getting Right
EV charger home installations are one of the smartest upgrades you can make as an EV owner — and over 80% of EV charging already happens at home. Here’s what you need to know at a glance:
How to install an EV charger at home:
- Choose your charger — Level 1 (120V, slow) or Level 2 (240V, fast)
- Assess your electrical panel — confirm you have capacity for a dedicated circuit
- Hire a licensed electrician — required in most states for permits and safe installation
- Pull the permits — your electrician handles this with your local municipality
- Install and test — wiring, breaker, mounting, and final inspection
- Apply for incentives — federal tax credits and state rebates can offset significant costs
Most homeowners choose a Level 2 charger, which adds 25–40 miles of range per hour. A standard install typically costs $800–$2,000 and takes an electrician just 2–4 hours on-site.
The convenience is hard to beat. Instead of stopping at a public station, you plug in at night and wake up to a full charge — much like your phone. It’s simpler, cheaper per mile, and more reliable for daily driving.
That said, getting the electrical side right matters. A poorly planned installation can mean costly upgrades down the road, or worse, a safety hazard. This guide walks you through everything — from panel capacity to permits to financial incentives.
I’m Edward Beauchemin, a residential designer and building performance specialist based in New England, where I’ve spent decades helping homeowners integrate systems like EV charger home installations into high-performance custom homes through my firms Beauchemin Designs and Energy Geeks. Let’s make sure your setup is done right, from the start.
Understanding EV charger home installations: Level 1 vs. Level 2
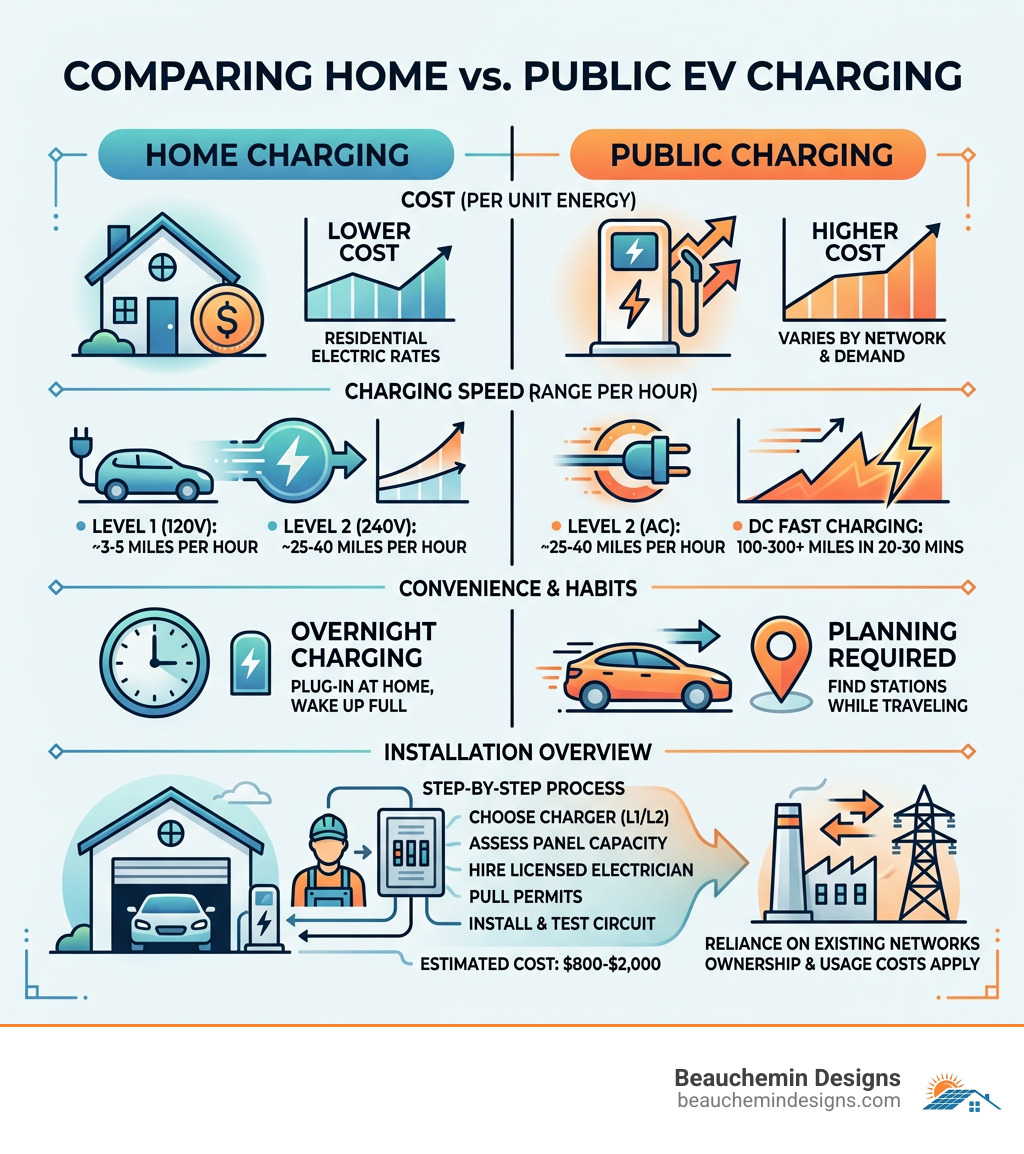
When you dive into electric vehicles, the first thing you’ll notice is that not all “plugs” are created equal. For EV charger home installations, you generally have two paths: Level 1 and Level 2. Think of Level 1 as a garden hose and Level 2 as a fire hose. Both will get the job done, but one is significantly faster.
| Feature | Level 1 (Trickle) | Level 2 (Fast Home) |
|---|---|---|
| Voltage | 120V (Standard Household) | 240V (Dryer/Oven Style) |
| Amperage | 8–16 Amps | 16–80 Amps (40A common) |
| Charging Speed | 3–5 miles per hour | 25–40 miles per hour |
| Full Charge Time | 40–50 hours | 4–10 hours |
| Installation Cost | $0 (Uses existing outlet) | $799 – $1,999+ |
Level 1: The “Better Than Nothing” Option
Level 1 charging uses the mobile connector that often comes with your vehicle. It plugs into a standard 120V three-prong outlet. While convenient, it is incredibly slow. If you drive less than 30 miles a day and can leave your car plugged in for 12+ hours, this might work. However, for the average driver, it rarely provides enough “recovery” range overnight.
Level 2: The Gold Standard for Homeowners
A Level 2 station is what we typically recommend for any modern home in Massachusetts or Rhode Island. It requires a dedicated 240V circuit—similar to what your clothes dryer or electric range uses. Because it operates at a higher voltage and amperage, it can fully replenish an empty battery overnight.
When selecting hardware, we always advise choosing an ENERGY STAR certified charger. These units meet strict safety and efficiency standards and are often required to qualify for local utility rebates. You’ll also encounter different connector types: the J1772 (standard for most non-Tesla EVs) and the NACS (North American Charging Standard, originally Tesla but now being adopted by Ford, GM, and others). Fortunately, many new “Universal” wall connectors now support both.
Choosing the Right Charger for Your Driving Habits
To decide which level fits your life, look at your odometer. The average driver in our region covers about 55 kilometers (roughly 35 miles) per day. If you have a long commute from Worcester to Boston or Providence to Warwick, a Level 1 charger will leave you “in the red” by mid-week.
Consider these factors:
- Daily Mileage: Do you drive more than 40 miles a day? You need Level 2.
- Battery Capacity: Larger batteries (like those in the Ford F-150 Lightning) take days to charge on Level 1.
- Plug-in vs. Hardwired: Plug-in chargers use a NEMA 14-50 outlet, making them easy to replace. Hardwired units are permanently connected to your home’s wiring, which is often safer for high-amperage continuous loads and offers a cleaner aesthetic.
Electrical Requirements and Home Infrastructure
Before you buy that shiny new wall connector, we need to talk about what’s “under the hood” of your house. EV charger home installations are high-draw appliances. Unlike a toaster that runs for two minutes, an EV charger pulls maximum power for hours on end.
Assessing Your Panel Capacity
Most modern homes built after the 1980s have a 200-amp master breaker panel, which is usually sufficient. However, many older homes in historic New England neighborhoods like Cambridge, Newton, or Providence still run on 100-amp or even 60-amp service.
An EV charger typically requires a dedicated 40-amp or 50-amp circuit. Per the National Electrical Code (NEC), the circuit breaker must be sized at 125% of the charger’s continuous load. For example, if you want to charge at 40 amps, you need a 50-amp breaker.
If your panel is full, you have a few options:
- Panel Upgrade: Swapping a 100-amp panel for a 200-amp panel. This is a significant but valuable investment for future-proofing.
- Sub-panels: Adding a smaller panel specifically for the garage or driveway.
- Load-Shedding Equipment: These smart devices monitor your home’s total power usage. If you turn on the oven and the dryer at the same time, the device will temporarily throttle the EV charger to prevent tripping the main breaker.
Safety is paramount here. We always ensure units are UL listed or ETL certified. Beyond the electrical load, we also consider how these installations interact with the rest of your home. For instance, while we focus on the garage, we never ignore how air sealing and indoor air quality are affected if you’re drilling through the building envelope to run conduit.
The Professional Installation Process
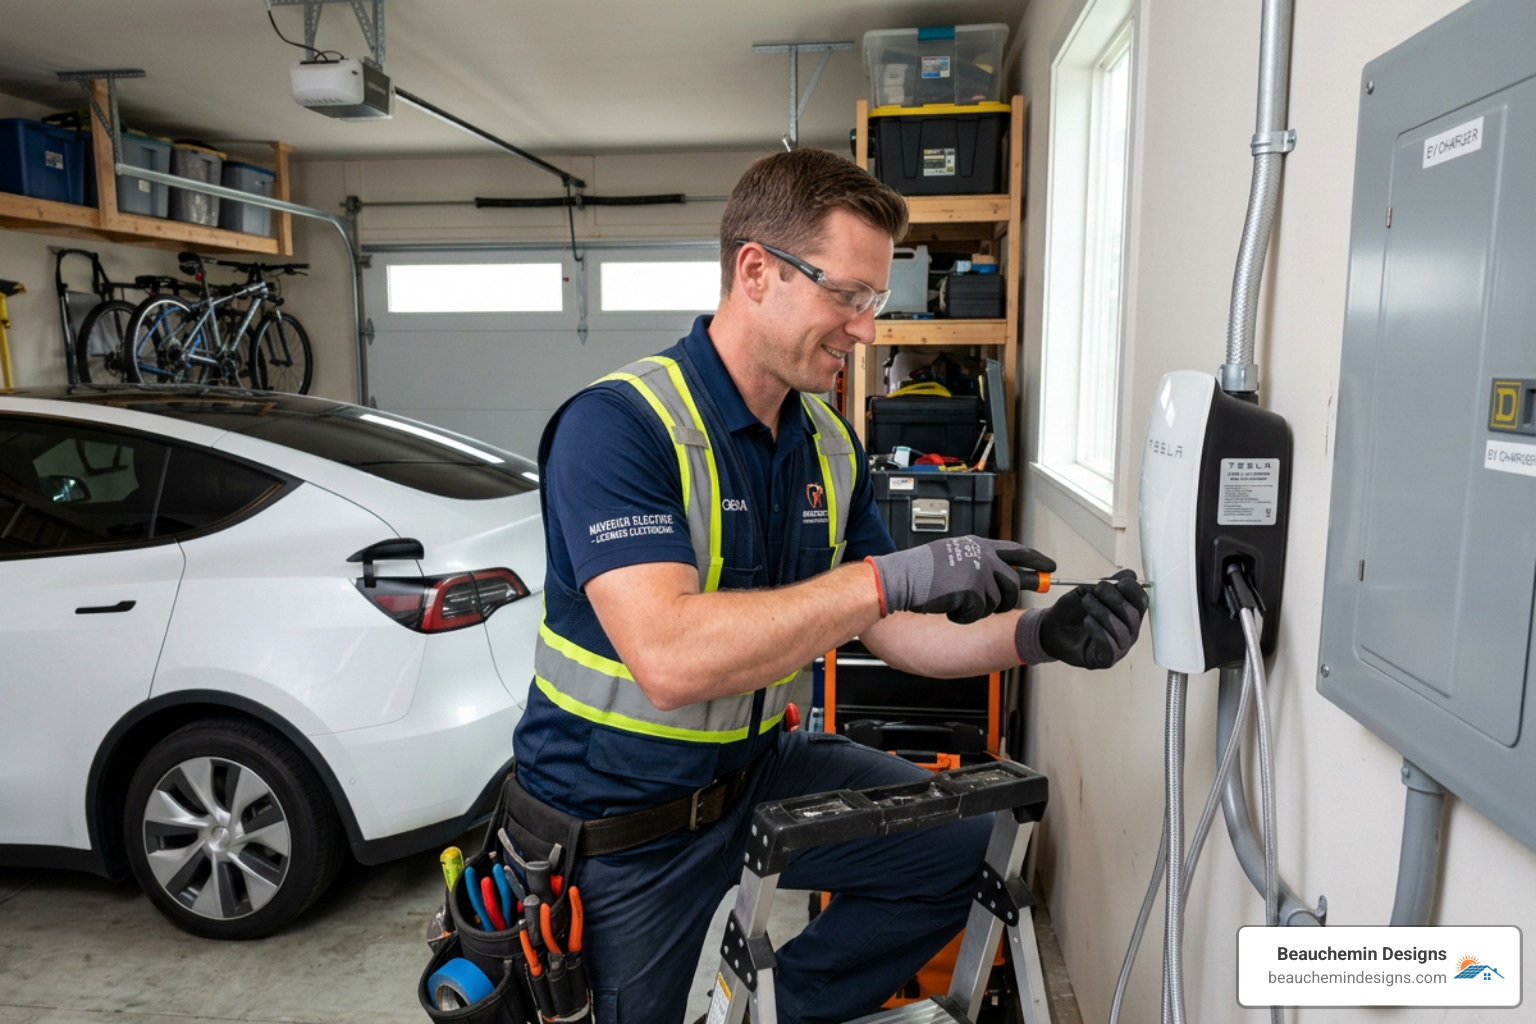
While it might be tempting to treat an EV charger like a DIY weekend project, professional installation is almost always a requirement—both for safety and for legal compliance. In Massachusetts and Rhode Island, a licensed electrician is required to pull permits and perform the work to ensure it meets the latest electrical codes.
Professional Steps for EV charger home installations
The process usually follows this trajectory:
- Site Assessment: We (or your electrician) look at the distance between your panel and the parking spot. Longer distances mean thicker wire gauges and higher costs.
- Permit Acquisition: Your installer files paperwork with the local building department. This ensures the work is inspected and recorded for insurance purposes.
- Conduit and Wiring: The electrician runs heavy-duty wiring (often 6-gauge or 8-gauge copper) through protective conduit from the panel to the charger location.
- Mounting and Commissioning: The unit is secured to the wall, wired in, and connected to your home Wi-Fi. Wi-Fi connectivity is crucial for smart chargers to receive software updates and for you to schedule charging during off-peak hours.
- Final Inspection: A municipal inspector visits to verify the installation is safe.
During this process, we also look at “envelope-first” details. If we are running wires through an exterior wall, we use professional-grade sealants to maintain the home’s airtightness—a concept we verify during blower door testing to ensure your home remains energy-efficient.
Costs, Rebates, and Financial Planning
Let’s talk numbers. The cost of EV charger home installations varies based on the complexity of your home’s layout.
- Equipment: A high-quality Level 2 charger costs between $500 and $1,000.
- Standard Installation: If your panel is in the garage and has room for a new breaker, labor and materials typically range from $799 to $1,500.
- Complex Installation: If we need to trench a line across a driveway, upgrade your service to 200 amps, or install a sub-panel, costs can exceed $3,000.
Financial Incentives to Soften the Blow
The good news is that you rarely have to pay the full sticker price.
- Federal Tax Credit: Under the Inflation Reduction Act, eligible homeowners can claim a tax credit of 30% of the cost of hardware and installation, up to a maximum of $1,000. This credit is currently in effect through 2026.
- Utility Rebates: Many New England utilities (like National Grid or Eversource) offer “Off-Peak” charging programs. They may provide a rebate for the charger itself or offer lower electricity rates if you schedule your charging between 11 p.m. and 7 a.m.
- State Incentives: Depending on whether you’re in MA or RI, there may be additional grants or sales tax exemptions available for EVSE (Electric Vehicle Supply Equipment).
Future-Proofing and High-Performance Design
At Beauchemin Designs, we don’t just look at where you’ll plug in your car today; we look at where the industry is headed in ten years. A “future-ready” home is one that can adapt to two EVs, a battery backup system, and a full heat pump conversion without needing to tear open the walls again.
Integrating Charging into New Construction
If you are building a new custom home or an Accessory Dwelling Unit (ADU) in Greater Boston or the South Shore, the best time to plan for an EV is during the design phase. We advocate for:
- EV-Ready Infrastructure: Even if you don’t own an EV yet, we install the conduit and reserved panel space now. It costs a few hundred dollars during construction but saves thousands in retrofitting later.
- Solar-Ready Design: We orient the roof and plan the electrical service so that solar panels can directly feed your EV charger.
- Electrification-Ready: We balance the electrical load of the charger with other high-performance systems like geothermal heat pumps to ensure your home’s “energy budget” is optimized.
Our approach integrates these technologies into the architectural aesthetic. We don’t want a mess of wires and grey boxes on the side of your beautiful new home. We design dedicated “energy hubs” in garages or carports that are clean, organized, and functional.
Frequently Asked Questions about Home Charging
How long does a typical installation take?
The actual “wrench time” for an electrician is usually 2 to 4 hours. However, the entire process—from getting quotes and purchasing equipment to securing municipal permits and scheduling the final inspection—usually takes 3 to 6 weeks.
Can I install a charger in an apartment or condo?
Yes, though it requires more coordination. Many states in New England are adopting “Right-to-Charge” laws that prevent HOAs from unreasonably denying a resident’s request to install a charger in their deeded parking space. You may need to use a charger with shared power management to ensure you don’t overload the building’s common electrical supply.
Is it safe to charge my EV in the rain or snow?
Absolutely. Most Level 2 chargers are rated NEMA 4, meaning they are airtight and protected against windblown rain, snow, and ice. The charging “nozzle” and the car’s port are designed to be weather-resistant; electricity doesn’t even flow until the car and the charger have “shaken hands” and confirmed a secure, dry connection.
Conclusion
Investing in EV charger home installations is about more than just fast charging; it’s about reclaiming your time and maximizing the value of your home. By moving away from public infrastructure and into a controlled, home-based environment, you lower your cost per mile and ensure your vehicle is always ready when you are.
Whether you’re retrofitting an 1890s colonial in Salem or designing a net-zero modern home in the Berkshires, the key is a holistic approach. By combining smart electrical planning with energy conservation and renewable energy strategies, you create a home that is truly future-proof.
If you’re ready to plan your high-performance home or ADU with integrated EV charging, reach out to us at Beauchemin Designs. We’re here to help you navigate the intersection of great architecture and advanced building science.