
Why EV Integrated Home Wiring Is the Foundation of Smart EV Ownership
EV integrated home wiring is the electrical infrastructure that connects your home’s power supply to your vehicle’s charging system — and getting it right is one of the most important decisions you’ll make as an EV owner.
Here’s a quick overview of what you need to know:
| Key Factor | What to Know |
|---|---|
| Where most charging happens | Over 80% of EV charging happens at home |
| Minimum requirement | A dedicated circuit — 120V for Level 1, 240V for Level 2 |
| Best home setup | 48A hardwired Level 2 charger on a 60A dedicated circuit |
| Panel requirement | 200A service recommended; 100A may require an upgrade |
| Cost vs. public charging | Home charging costs roughly one-third of DC fast charging |
| Key code to follow | NEC Article 625 governs all residential EV charging installations |
| Permits required? | Yes, in most jurisdictions — always pull a permit |
The difference between a frustrating EV ownership experience and a seamless one often comes down to what’s behind the wall. A slow Level 1 outlet might leave your car half-charged by morning. An undersized panel can trip breakers or require a costly upgrade down the road. And in New England, where cold winters can reduce battery range and heating loads already push electrical systems hard, getting the wiring right from the start matters even more.
This guide walks you through everything — from reading your electrical panel to choosing the right charger, managing loads, and future-proofing for bidirectional charging.
I’m Edward Beauchemin, a residential designer and building performance specialist based in New England, and through my work at Beauchemin Designs and Energy Geeks, I’ve helped homeowners integrate EV integrated home wiring into high-performance homes designed for the unique demands of the Northeast climate. Let’s dig in.
Assessing Your Home for EV Integrated Home Wiring
Before you buy a shiny new charger, we need to look at the heart of your home’s electrical system: the service panel. In many older New England homes—from the Triple Deckers of Worcester to the historic colonials in Concord—the electrical infrastructure wasn’t designed to fuel a “gas station” in the garage.

The first step is a comprehensive electrical panel audit. We need to determine if your current system can handle the sustained draw of an EV. Most modern Level 2 chargers pull as much power as an electric oven or a central AC unit, but they do it for hours at a time. This is why a professional assessment is vital. You can find more details on EV Plug Wiring Requirements – Home Charging Guide to understand the baseline needs for your property.
The Critical First Step: Electrical Panel Audits for EV Integrated Home Wiring
When we consult with homeowners in places like Cambridge or Providence, we start by checking the main breaker rating. If your home has 100-amp service, you are likely redlining your capacity if you add a Level 2 charger alongside an electric dryer, range, and heat pump.
Upgrading to a 200-amp panel is often the gold standard for future-proofing. However, at Beauchemin Designs, we also look at the home’s overall energy efficiency. A home with a superior HERS rating often has lower base electrical loads due to high-performance lighting and appliances, which might leave more “room” in the panel for your EV.
Determining Circuit Capacity for EV Integrated Home Wiring
Electrical circuits are governed by the “80% Rule.” This means for a continuous load—anything running for more than three hours, like an EV charger—you should only use 80% of the breaker’s rated capacity.
- 40A Charging: Requires a 50A breaker.
- 48A Charging: Requires a 60A breaker.
While Level 1 uses standard 120V outlets, Level 2 requires 240V infrastructure. In New England, where the grid faces high demands during winter heating peaks, ensuring your internal wiring is sized correctly prevents “nuisance tripping” and ensures safety.
Level 1 vs. Level 2: Choosing the Right Infrastructure
Choosing between Level 1 and Level 2 is really a question of how much you drive and how patient you are.
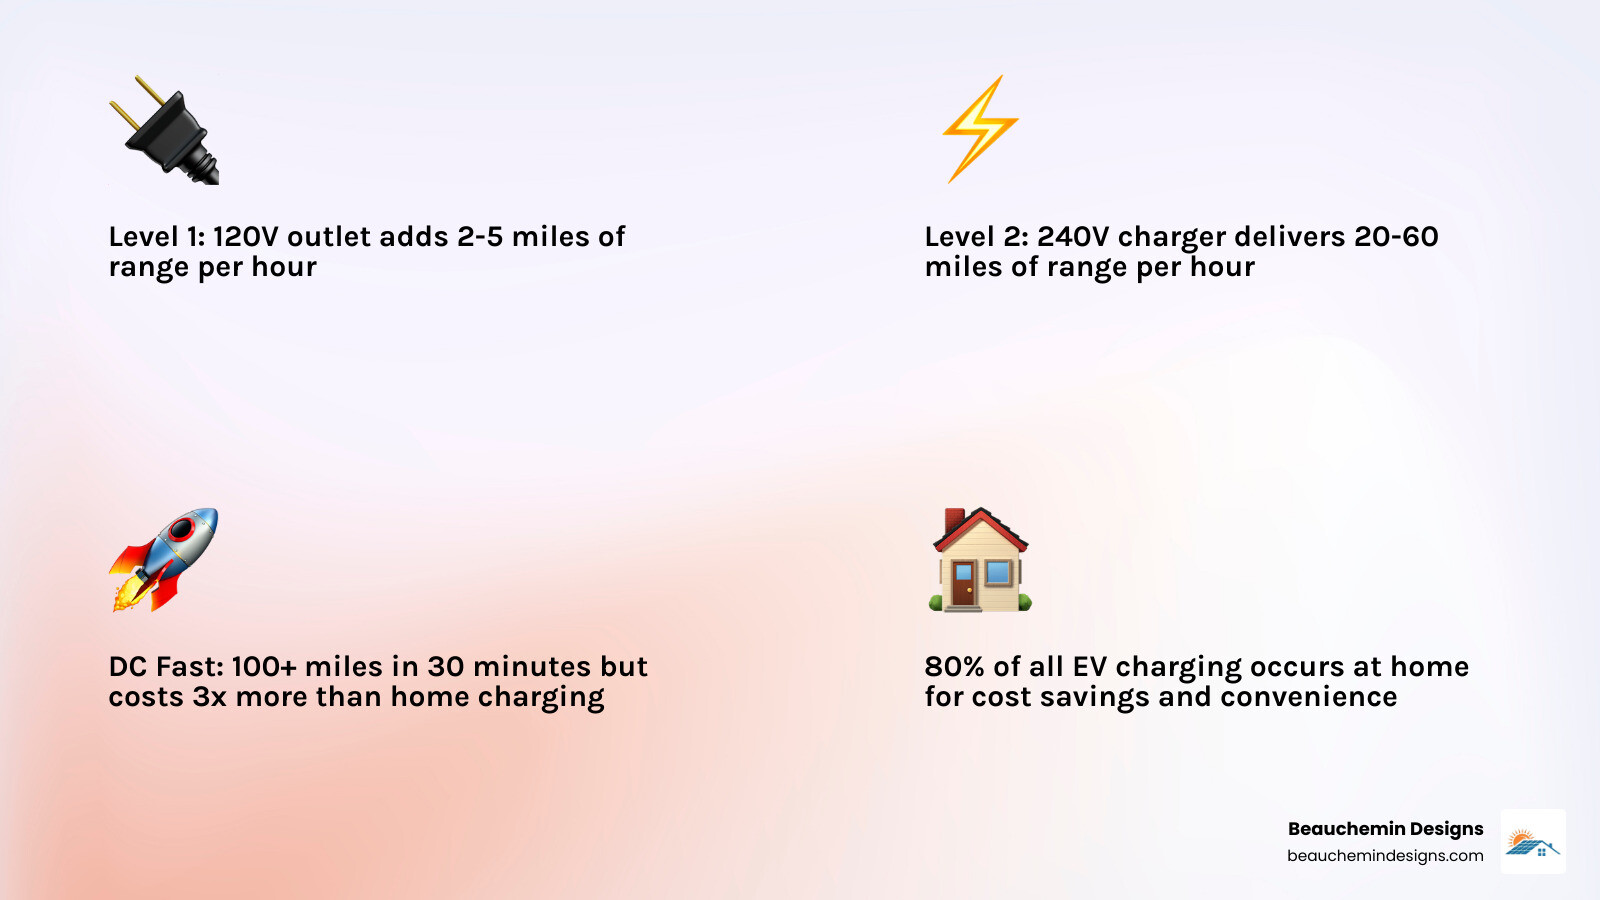
| Feature | Level 1 (120V) | Level 2 (240V) |
|---|---|---|
| Range per Hour | 3–5 miles | 25–45 miles |
| Typical Use | Plug-in Hybrids / Short Commutes | Full BEVs / Long Commutes |
| Installation Cost | $0 (standard outlet) | $700 – $2,500+ |
| Wiring Needed | Standard 3-prong outlet | Dedicated 240V circuit |
If you drive less than 30 miles a day, Level 1 might technically “work,” but it offers zero flexibility. For most of our clients in the MetroWest or North Shore areas, Level 2 is the standard. For a deeper dive into 2026 trends, check out the Home EV Charging: The Ultimate 2026 Guide | VECHARGED.
NEMA Outlet Types and Plug-in Options
If you choose a plug-in Level 2 charger, you’ll likely need a NEMA 14-50 outlet (the same kind used for electric ranges). This provides portability; you can take the charger with you if you move. Some homeowners use a smart splitter to share an existing 240V dryer outlet, which can be a budget-friendly way to get Level 2 speeds without a full panel rewire.
Hardwired vs. Plug-in: Which is Better?
In the harsh New England climate, we generally recommend hardwired installations. Why?
- Weatherproofing: Hardwired connections are more resilient against the moisture and temperature swings common in coastal Massachusetts or Rhode Island.
- Higher Power: Plug-in chargers are capped at 40 amps. To get the full 48-amp (or higher) speed for newer EVs, you must hardwire.
- Reliability: Fewer points of failure (no plug to wiggle loose or corrode). A great example of a robust smart unit is the Leviton EV48W Smart Station, which handles outdoor New England winters with ease.
Smart Panels and Load Management Solutions
If your panel is full, don’t panic. You might not need a $4,000 service upgrade. Modern technology allows for “load shedding” or smart management.
By using a smart panel or a load-sharing device, the system can automatically pause EV charging if the water heater and the electric oven both kick on at the same time. This keeps your total draw below the limit of your 100A or 150A service. For homeowners in historic areas like Cambridge, where utility upgrades can be a bureaucratic nightmare, upgrading to smart electrical panels is a game-changer.
Smart Chargers for 2025 and 2026
The next generation of chargers is about more than just juice; they are energy management hubs. Features to look for include:
- Wi-Fi Connectivity: For firmware updates and remote troubleshooting.
- NACS Compatibility: Most manufacturers are moving to the Tesla-style North American Charging Standard (NACS).
- Intelligent Scheduling: The GM Energy PowerShift Charger and similar units allow you to automatically charge when electricity rates are lowest.
Integrating with Solar and Home Batteries
At Beauchemin Designs, we specialize in energy conservation and renewable energy. Integrating your EV wiring with a rooftop solar array or a home battery (like a Powerwall) allows you to drive on “sunshine.” This synergy not only reduces your carbon footprint but provides true grid independence during New England’s frequent storm-related outages.
Technical Requirements: Wiring, Safety, and NEC Compliance
Installing EV integrated home wiring is not a DIY weekend project. It involves high voltage and high current that can cause fires if done incorrectly.
The National Electrical Code (NEC) Article 625 is the bible for these installs. Key requirements include:
- Wire Gauge: Typically 6 AWG or 8 AWG copper wire depending on the circuit length and amperage.
- GFCI Protection: Essential for safety, though some smart chargers have this built-in (which can sometimes conflict with GFCI breakers—a common “nuisance trip” issue).
- Permits: Always require your electrician to pull a permit. This ensures a third-party inspector verifies the work, which is vital for your home insurance.
Just as we use blower door testing to ensure a home’s envelope is performing, we use professional electrical testing to ensure your EV circuit is safe and efficient.
Future-Proofing for Bidirectional Charging (V2H/V2G)
The future of EV integrated home wiring is bidirectional. Vehicle-to-Home (V2H) technology allows your car to power your house during a blackout. An EV battery is typically 5 to 10 times larger than a standard home wall battery. To prepare for this, we recommend installing larger conduit (1.25-inch or 1.5-inch) now, even if you don’t have a V2H-capable car yet. This also helps maintain better indoor air quality by reducing the need for gas-powered backup generators.
Installation in Special Residential Contexts
Every home is different. We’ve designed energy-efficient historic duplexes in Blackstone where space is at a premium. In these cases, we often look at:
- Multi-vehicle households: Using chargers that can share a single circuit.
- ADUs: Ensuring the “In-law suite” has its own charging capacity without overloading the main house.
- Rural properties: Planning for long trenching runs from the house to a detached barn or garage.
Costs, Permits, and Financial Incentives
While a basic install might cost $800 in labor, a complex retrofit in a historic home can easily reach $2,500+. If a panel upgrade is required, expect to add $1,500 to $4,000 to that total.
However, the incentives are significant:
- Federal Tax Credit: 30% of hardware and installation costs, up to $1,000.
- Utility Rebates: Many New England utilities offer rebates for “Smart” chargers.
- Annual Savings: The average EV owner saves over $800 a year on “fuel” compared to a gas car.
We’ve seen these savings first-hand in projects like our Mansfield historic duplex, where smart energy planning turned an old building into a modern, low-cost home.
Frequently Asked Questions about EV Wiring
Can I install an EV charger myself?
We strongly advise against it. Between the high-voltage risks, the need for precise torque on connections (to prevent heat buildup), and the strict NEC codes, this is a job for a licensed professional. Plus, a DIY install may void your charger’s warranty or your home insurance policy.
What maintenance does a home EV charger require?
Home chargers are relatively low-maintenance, but you should:
- Regularly check the charging cable for nicks or wear.
- Ensure the connector pins are clean and free of debris.
- Keep the firmware updated via the app.
- In New England, ensure the unit is clear of snow and ice buildup.
How do I troubleshoot common installation issues?
If your breaker is tripping, it’s often a sign of an overloaded circuit or a “nuisance trip” caused by a GFCI conflict. If your charging speed drops, the unit might be overheating or “derating” due to high ambient temperatures. For specific technical help, you can search the knowledge base.
Conclusion
Integrating EV integrated home wiring is about more than just a plug in the wall; it’s about creating a future-ready energy ecosystem. By taking an envelope-first approach to home design, we reduce the overall energy demand of the house, making it easier and cheaper to add high-power features like EV charging and geothermal heat pumps.
At Beauchemin Designs, we believe your home should work for you. Whether you are building a new custom home in the Berkshires or retrofitting an ADU in Rhode Island, we can help you navigate the complexities of modern electrification.
Ready to future-proof your home? Contact Beauchemin Designs today for expert energy conservation and renewable energy planning tailored to the New England climate.